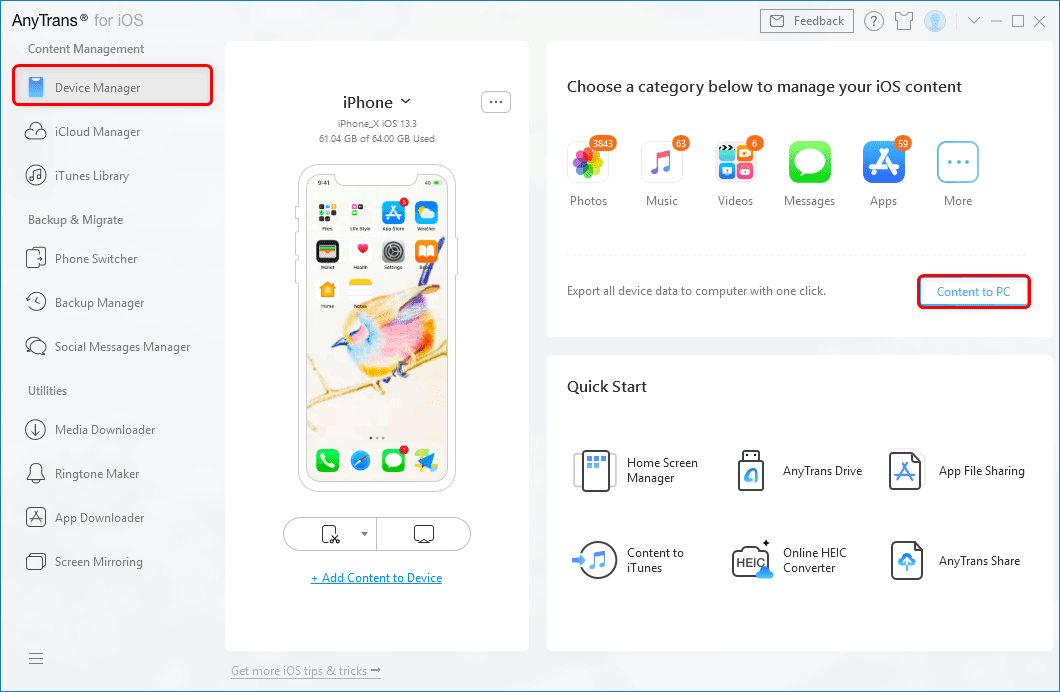
In this comprehensive guide, we will walk you through the step-by-step process of transferring photos from your iPhone to a computer. With the ever-increasing quality of iPhone cameras, capturing precious moments has become an integral part of our lives. However, as our photo collections grow, it becomes essential to back them up on a computer to free up space on our devices and preserve our memories securely. By the end of this article, you will have a thorough understanding of various methods to transfer photos effortlessly and efficiently.
How to Transfer Photos from iPhone to Computer
Method 1: Using iCloud Photo Library
Apple's iCloud Photo Library is an excellent solution for seamlessly synchronizing your photos across all your Apple devices. To enable this feature and transfer photos to your computer, follow these simple steps:
- Activate iCloud Photo Library: Open the Settings app on your iPhone, tap on your name, then go to iCloud > Photos, and turn on "iCloud Photo Library."
- Upload Your Photos: Once the iCloud Photo Library is enabled, your photos will automatically sync to the cloud. Be patient, as the time it takes depends on the size of your library and your internet connection speed.
- Access iCloud Photos on Computer: On your computer, open a web browser, navigate to icloud.com, and sign in with your Apple ID. Click on "Photos" to view and download your synced pictures.
Method 2: Using iTunes
If you prefer a direct connection between your iPhone and computer, iTunes offers a reliable method for transferring photos:
- Install the Latest iTunes Version: Ensure you have the latest version of iTunes installed on your computer. If not, download and install it from Apple's official website.
- Connect Your iPhone to the Computer: Use the Lightning to USB cable to connect your iPhone to your computer. A prompt may appear on your iPhone asking for your device passcode or to "Trust This Computer." Follow the instructions accordingly.
- Access iPhone in iTunes: Launch iTunes on your computer. In the upper-left corner, click the device icon to access your iPhone's summary page.
- Select "Photos" Tab: In the left-hand sidebar, click on the "Photos" tab. Then, check the box next to "Sync Photos."
- Choose Photos to Transfer: You can select to sync all photos or specific albums and folders. Once you've made your selection, click "Apply" to initiate the transfer.
Method 3: Using Google Photos
Google Photos is a versatile platform that allows you to store and access your photos from multiple devices, including your iPhone and computer. Follow these steps to transfer your photos to Google Photos:
- Download Google Photos App: Install the Google Photos app from the App Store on your iPhone.
- Sign in and Back Up Photos: Launch the Google Photos app, sign in with your Google account, and enable the "Back up & sync" option. This will automatically upload your iPhone photos to your Google Photos library.
- Access Google Photos on Computer: On your computer, open a web browser and go to photos.google.com. Sign in with the same Google account used on your iPhone, and you'll find all your synced photos accessible from the browser.
Method 4: Using AirDrop
If you're an Apple enthusiast and own both an iPhone and a Mac, AirDrop is an incredibly convenient way to transfer photos wirelessly:
- Enable Wi-Fi and Bluetooth: Ensure both Wi-Fi and Bluetooth are turned on for both your iPhone and Mac.
- Open Control Center: On your iPhone, swipe up from the bottom of the screen to access Control Center.
- Activate AirDrop: Press and hold the network settings box in the top-left corner of Control Center. Select "Contacts Only" or "Everyone" to enable AirDrop.
- Transfer Photos: Open the Photos app on your iPhone, select the photos you want to transfer, tap the Share button, and choose your Mac from the AirDrop options. On your Mac, accept the incoming photos.
Method 5: Using Third-Party Apps
Several third-party apps offer additional features and flexibility in transferring photos from your iPhone to a computer. Some popular options include Dropbox, OneDrive, and iMazing. These apps often provide cloud storage and easy-to-use interfaces for managing your photos effectively.
Conclusion
In conclusion, transferring photos from your iPhone to a computer can be achieved through various methods, each with its unique advantages. Whether you prefer the seamless integration of iCloud, the versatility of Google Photos, the direct connection of iTunes, the convenience of AirDrop, or the extended features of third-party apps, the choice ultimately depends on your specific needs and preferences.
Remember to regularly back up your photos to ensure their safety and accessibility in the future. With the information provided in this guide, you can now confidently transfer your cherished memories from your iPhone to your computer with ease.

